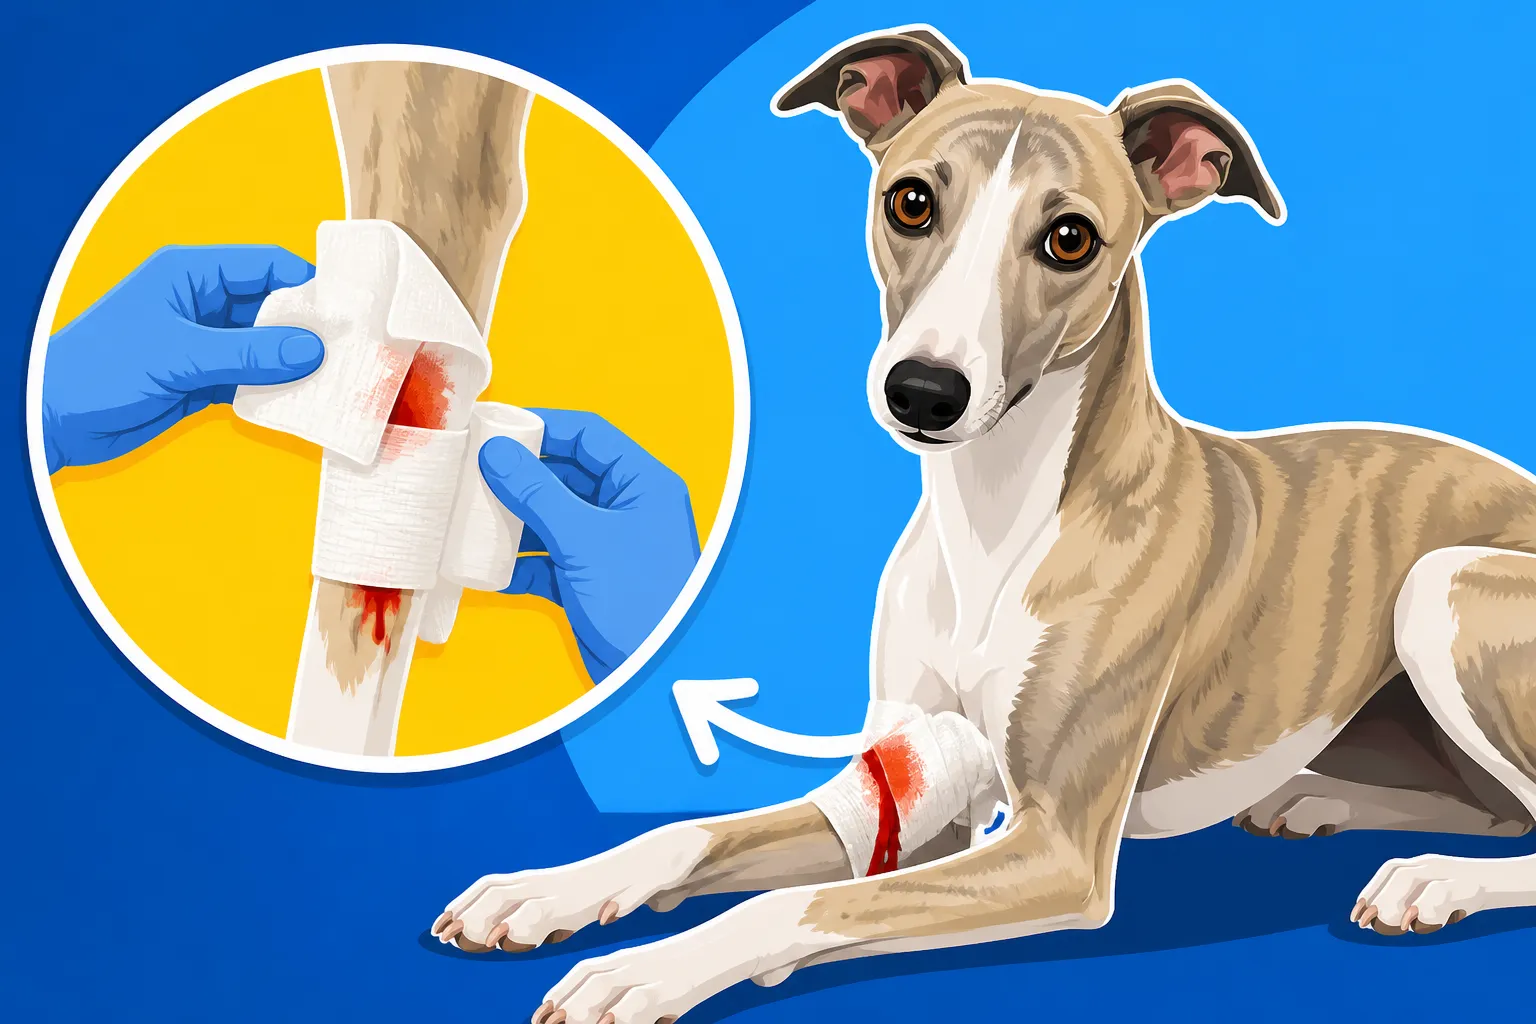
How to Stop Bleeding on a Whippet’s Leg
Oh, the panic that shoots through you when you see blood on your whippet's leg, isn't it? It’s a common, gut-wrenching moment for so many of us, especially with their delicate skin and lean bodies. One minute they're romping happily, the next you're staring at a deep laceration that seems to bleed everywhere. This guide is here to walk you through exactly what to do in those scary first moments to stop the bleeding and assess when it's time for urgent veterinary care.
Understanding Why Whippet Legs Bleed So Much
It's not just your imagination; whippet legs really do bleed a lot when they get cut. This isn't a sign of some underlying health issue, but rather a direct consequence of their unique anatomy and the common types of injuries they sustain. It’s part of the package deal when you welcome one of these wonderful, thin-skinned creatures into your life.
The Thin Skin and Lack of Padding
Whippets are built for speed and agility, and their physique reflects that. They have incredibly thin, delicate skin that offers very little protection against scrapes, cuts, and punctures. Unlike many other breeds with thick fur or layers of subcutaneous fat, a whippet’s skin is practically shrink-wrapped over muscle and bone. This means there's almost no cushioning to absorb impact or prevent sharp objects from reaching blood vessels just beneath the surface. When you get a cut on a whippet’s leg, it's often more than just a superficial scratch; it's a direct hit to capillaries and even small arteries, leading to a surprisingly profuse amount of blood. It can be incredibly alarming, and it's certainly one of the most common reasons a whippet owner finds themselves rushing to the vet for stitches. The Thin Skin That Sends a Whippet to the Vet for Stitches is a prime example of this frequent occurrence.
Adding to this, whippets have very little body fat. This lack of natural padding means that their blood vessels are much closer to the surface, making them more vulnerable to injury. A simple brush against a thorny bush, a slide on concrete, or even an accidental bump against furniture can result in a gash that looks far worse than you might expect on another dog. Their skin is simply not designed for rough and tumble, and we, as their guardians, need to be hyper-aware of this fragility.
The Location of Common Injuries
You'll often find these startling cuts on a whippet's legs, particularly around the hocks, elbows, and flanks. These areas are especially exposed during play or when they're navigating their environment. Imagine your whippet zooming through tall grass, chasing a squirrel – a stray branch or sharp stick can easily snag their thin skin. Their lower legs are often the first point of contact with potential hazards, making them prime targets for injury.
The hocks and elbows are also points where the skin stretches taut over prominent bones. This lack of elasticity and padding makes these areas prone to tearing rather than just bruising. It's not uncommon for a whippet to catch a leg on something sharp during a burst of speed, or even to accidentally snag themselves on a crate door. Where a Whippet Tears Its Skin Most often highlights these very spots. Because these areas are highly vascular, a tear here can produce a significant amount of blood, turning a minor incident into a very dramatic scene quickly.
Initial Panic vs. Actual Danger
It’s completely natural to feel a wave of panic when your whippet's leg is bleeding profusely. The sheer volume of blood can make it look like a life-threatening injury, even if it's not. However, it’s crucial to take a deep breath and assess the situation as calmly as you can. While many whippet cuts bleed a lot, not all are immediately life-threatening. Most often, the bleeding looks worse than it is.
The danger isn't necessarily the amount of blood lost in a minute, but the source and duration of the bleeding. A cut that’s spurting blood might indicate an arterial bleed, which is a true emergency. A steady flow or oozing, while still alarming, is more likely venous or capillary bleeding, which is generally easier to control with direct pressure. Your ability to distinguish between these, even slightly, can help you act appropriately. Don't underestimate your ability to help in these situations; your immediate actions can make a huge difference in controlling the wound and getting your whippet the care they need.
Immediate Steps to Control Bleeding at Home
When your whippet has a bleeding wound on its leg, the first few minutes are critical. Your primary goal is to staunch the flow of blood as quickly and effectively as possible. This isn't just about reducing mess; it's about minimizing blood loss and allowing you time to get to a vet if needed.
Applying Direct Pressure
This is, hands down, the most important first step. Grab anything clean and absorbent you can find – a clean washcloth, paper towels, gauze pads from a first-aid kit. Press it firmly and directly onto the wound. Don't just dab; apply consistent, firm pressure.
The key here is patience and consistency. Many people peek after a few seconds, see blood, and release the pressure, thinking it's not working. Resist this urge! Hold that pressure for at least 5-10 minutes without lifting to check. This allows the blood to clot and the pressure to compress the injured vessels. If blood soaks through your initial cloth, don't remove it; simply place another clean cloth on top and continue applying pressure. Removing the cloth prematurely can dislodge any forming clots, making the bleeding worse. Keep your whippet calm by speaking in soothing tones. If they are anxious, you might need someone else to help hold them gently while you focus on the wound.
Elevating the Limb If Possible
Once you've got steady pressure applied, if the wound is on a lower leg, try to gently elevate the limb above your whippet’s heart. This simple action can help reduce blood flow to the injured area, complementing the direct pressure you’re applying. For a leg injury, you might be able to cradle their leg in your hand, keeping it slightly raised while you maintain pressure on the wound itself.
However, don't compromise direct pressure or cause your whippet further discomfort just to achieve elevation. Direct pressure is paramount. If elevating the leg is too awkward or causes stress, focus solely on effective pressure application. You want to make the process as calm and effective as possible for both of you.
Using a Clean Dressing and Bandaging
After you've held direct pressure for several minutes and the bleeding has noticeably slowed or stopped, it’s time to secure a dressing. A sterile gauze pad is ideal, but a clean cloth will do in a pinch. Place it directly over the wound.
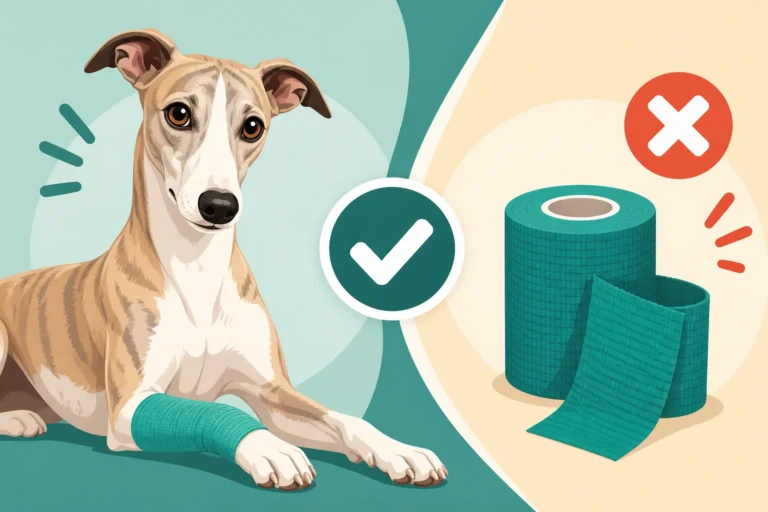
Next, you'll want to apply a bandage to keep that dressing in place and maintain light pressure. Self-adhesive elastic bandages like vet wrap are excellent for this, as they stick to themselves and provide consistent, gentle compression without being too tight. You can find these easily on Chewy or Amazon. Start wrapping from below the wound, moving upwards, overlapping by about half the width of the bandage with each rotation. Make sure it’s snug enough to hold the dressing but not so tight that it cuts off circulation. You should be able to slide two fingers underneath the bandage comfortably. Leave the paw visible so you can check for swelling or coldness, which could indicate the bandage is too tight. Whether a Whippet Owner Should Keep Vet Wrap is a question many realize the answer to during moments like these.
When a Tourniquet Is Not the Answer
I cannot stress this enough: do not use a tourniquet unless it is an absolute, life-or-death emergency where no other bleeding control method has worked, and you are prepared for potential limb loss. Tourniquets are incredibly dangerous and can cause severe tissue damage, nerve damage, or even necessitate amputation if applied incorrectly or left on too long.
For almost all whippet leg injuries, even those that bleed a lot, direct pressure is sufficient to control the bleeding until you can get veterinary help. Stick to direct pressure and proper bandaging. Leave tourniquets to trained medical professionals in extreme circumstances only.
Assessing the Wound and Deciding on Vet Care
Once you've got the bleeding under control, the next crucial step is to assess the severity of the wound. Not every cut will require an emergency dash to the vet, but many whippet skin tears certainly do. Knowing when to go and when you might be able to manage at home can save you a lot of worry (and money), but when in doubt, a vet visit is always the safest option.
Signs That Warrant Immediate Veterinary Attention
While direct pressure can stop a lot of bleeding, some wounds are simply too severe to heal on their own or require professional intervention. Here are clear signs that your whippet needs immediate veterinary attention:
- Deep or Gaping Wounds: If the edges of the skin are pulled far apart, revealing underlying tissue, muscle, or even bone, your whippet needs stitches. Skin tears on whippets are notorious for gaping due to their thin skin and lack of subcutaneous fat.
- Continued Bleeding: Despite 10-15 minutes of firm, direct pressure, if the wound continues to bleed profusely or spurts blood, it indicates a more serious injury to a larger vessel that requires veterinary intervention.
- Large Size: Very long or wide lacerations are difficult to keep clean and often need closing to prevent infection and promote proper healing.
- Lameness or Pain: If your whippet is limping badly, unwilling to put weight on the leg, or shows extreme pain when you try to examine the area, there might be underlying damage to tendons, ligaments, or bones.
- Contamination: If the wound is dirty, contains visible foreign objects (like gravel, splinters, or glass), or was caused by a bite from another animal, it has a high risk of infection and needs thorough cleaning and possibly antibiotics from a vet.
- Location Near a Joint: Wounds over joints can be particularly problematic, as they can lead to joint infection or affect mobility if not treated correctly.
If you observe any of these signs, it's time to call your vet or an emergency animal clinic right away. When a Whippet's Wound Needs a Vet can provide further clarity on serious lacerations.
What to Do While Traveling to the Vet
So, you've made the call, and you're on your way to the vet. Don't undo your good work! Keep the pressure bandage in place. If the wound is still oozing a bit through the bandage, apply a clean cloth over it and continue to apply gentle pressure.
Try to keep your whippet as calm and still as possible in the car. Having a second person to help steady them and offer comfort is ideal. If you're alone, secure them safely in their crate or with a car harness to prevent them from moving around too much and potentially dislodging the bandage or irritating the wound. Keep the car cool and quiet. Your calm demeanor will go a long way in reassuring your anxious whippet during what can be a very stressful time.
Preparing for the Vet Visit
When you arrive at the vet, be prepared to give them as much information as possible. This helps them quickly understand the situation and prioritize treatment.
Be ready to tell them:
- When and how the injury occurred: Was it a fall, a scrape from a fence, a fight with another dog?
- How much blood was lost initially: Describe the bleeding – spurting, steady flow, oozing.
- What first aid you've administered: Direct pressure, type of bandage, how long you kept pressure.
- Any other symptoms: Is your whippet limping, acting dazed, or unusually quiet?
This information will be invaluable to the veterinary team in providing swift and effective care for your beloved whippet. They'll likely clean the wound thoroughly, assess its depth, and decide on the best course of action, which often involves sutures to close the skin. How Much a Whippet Skin Tear Costs to Close is a common concern for owners in these situations, but immediate care is paramount.
Aftercare and Prevention
Getting the bleeding stopped and the wound addressed by a vet is a huge relief, but the journey isn’t over. Proper aftercare is crucial for healing, and thinking about prevention can save you from future scares. Our whippets rely on us to look out for their delicate needs.
Wound Cleaning and Care at Home Post-Vet
Once your whippet comes home from the vet, you'll likely have instructions for wound care. These typically involve keeping the wound clean and dry, and possibly changing bandages. Your vet might prescribe oral antibiotics to prevent infection, especially if the wound was dirty or deep. They may also give you a pain reliever for the first few days.
When cleaning, follow your vet's specific instructions. Generally, this means gently cleaning the area around the wound (not directly on it, especially if there are stitches) with a mild antiseptic solution or warm saline solution. Always pat dry thoroughly. Keep an eye out for signs of infection: redness, swelling, warmth, pus, or a foul odor. If you notice any of these, contact your vet immediately. It's also important to prevent your whippet from licking or chewing at the wound, which can pull out stitches or introduce bacteria. An Elizabethan collar (e-collar or "cone of shame") or an inflatable collar is usually necessary. Whether a Whippet Should Wear a Cone After Stitches is a question many owners face, and the answer is almost always yes.
| Signs of Healthy Healing | Signs of Potential Infection (Contact Vet) |
|---|---|
| Minimal redness or swelling | Increased redness around wound |
| Slight clear or pale yellow discharge | Thick yellow or green pus |
| Scab formation | Foul odor from the wound |
| Edges of wound coming together | Swelling, warmth, or pain to the touch |
| No pain or decreasing pain | Fever or lethargy in your whippet |
| Gradual hair regrowth | Wound opening up or stitches coming out |
Preventing Future Leg Injuries
While you can't prevent every single scrape, you can definitely minimize the risks of your whippet getting another significant leg injury.
- Supervised Play & Exercise: Always supervise your whippet, especially in new or overgrown areas. Be aware of their surroundings. Avoid letting them run through dense brush, thorny bushes, or areas with sharp debris. Whether a Whippet's Skin Tears From Running Through Brush is a definite yes, so choose open, clear spaces for their sprints.
- Secure Fencing: Ensure your yard is free of jagged edges, exposed wires, or anything they could catch themselves on. Check under fences for sharp points where they might try to dig or squeeze through.
- Protective Gear: For whippets that are very active in areas with potential hazards, consider protective gear like lightweight coats or body suits, even in mild weather. These can provide a thin layer of protection against minor scrapes. The Wardrobe a Whippet Needs Because It Has No Body Fat will often include options that can help. Look for robust but flexible materials that don't hinder movement.
- Indoor Safety: Even indoors, whippets can get injured. Be mindful of sharp furniture corners, exposed metal edges on crates, or loose rugs they could slip on. Regularly inspect their beds for any worn spots that could snag a claw or tear skin.
- Nail Trims: Keep your whippet's nails trimmed short. Overgrown nails can get caught and cause injuries, or even make your whippet more prone to slipping and tearing their skin. How Often a Whippet's Nails Need Cutting is probably more often than you think!
The Importance of a Whippet First Aid Kit
Having a well-stocked first aid kit specifically for your whippet is an absolute game-changer. It allows you to react quickly and confidently, potentially preventing a minor cut from becoming a major crisis. I always keep one easily accessible.
Here’s what I recommend having on hand:
- Sterile Gauze Pads: For applying direct pressure and covering wounds. You can find large packs on Chewy.
- Self-Adhesive Vet Wrap: Essential for securing dressings. Keep a few rolls in different widths.
- Medical Tape: For holding gauze in place if you don't have vet wrap.
- Antiseptic Wipes or Solution: Like dilute povidone-iodine (Betadine) or chlorhexidine, for cleaning around wounds after bleeding is controlled. Consult your vet on safe options.
- Blunt-tipped Scissors: To cut bandages without risking further injury.
- Non-Stick Pads: To cover wounds without sticking to the healing tissue.
- Pet-Safe Saline Solution: For flushing minor debris from superficial wounds.
- E-Collar or Inflatable Collar: To prevent licking or chewing.
- Tweezers: For removing small splinters or debris.
- Latex Gloves: For hygiene.
- Your Vet's Contact Info & Emergency Clinic Address: Crucial when you’re in a panic!
You can easily assemble a comprehensive kit from supplies found on Amazon or Chewy. What Belongs in a Whippet Owner's First Aid Kit is a deep dive into putting one together, and it's truly an investment in your peace of mind and your whippet's safety. Being prepared means you can focus on caring for your whippet instead of scrambling for supplies during a stressful incident.
Disclaimer
This article is for general informational purposes only and does not constitute professional advice. Laws, prices and regulations vary by location and change over time. Consult a qualified professional for guidance on your specific situation.