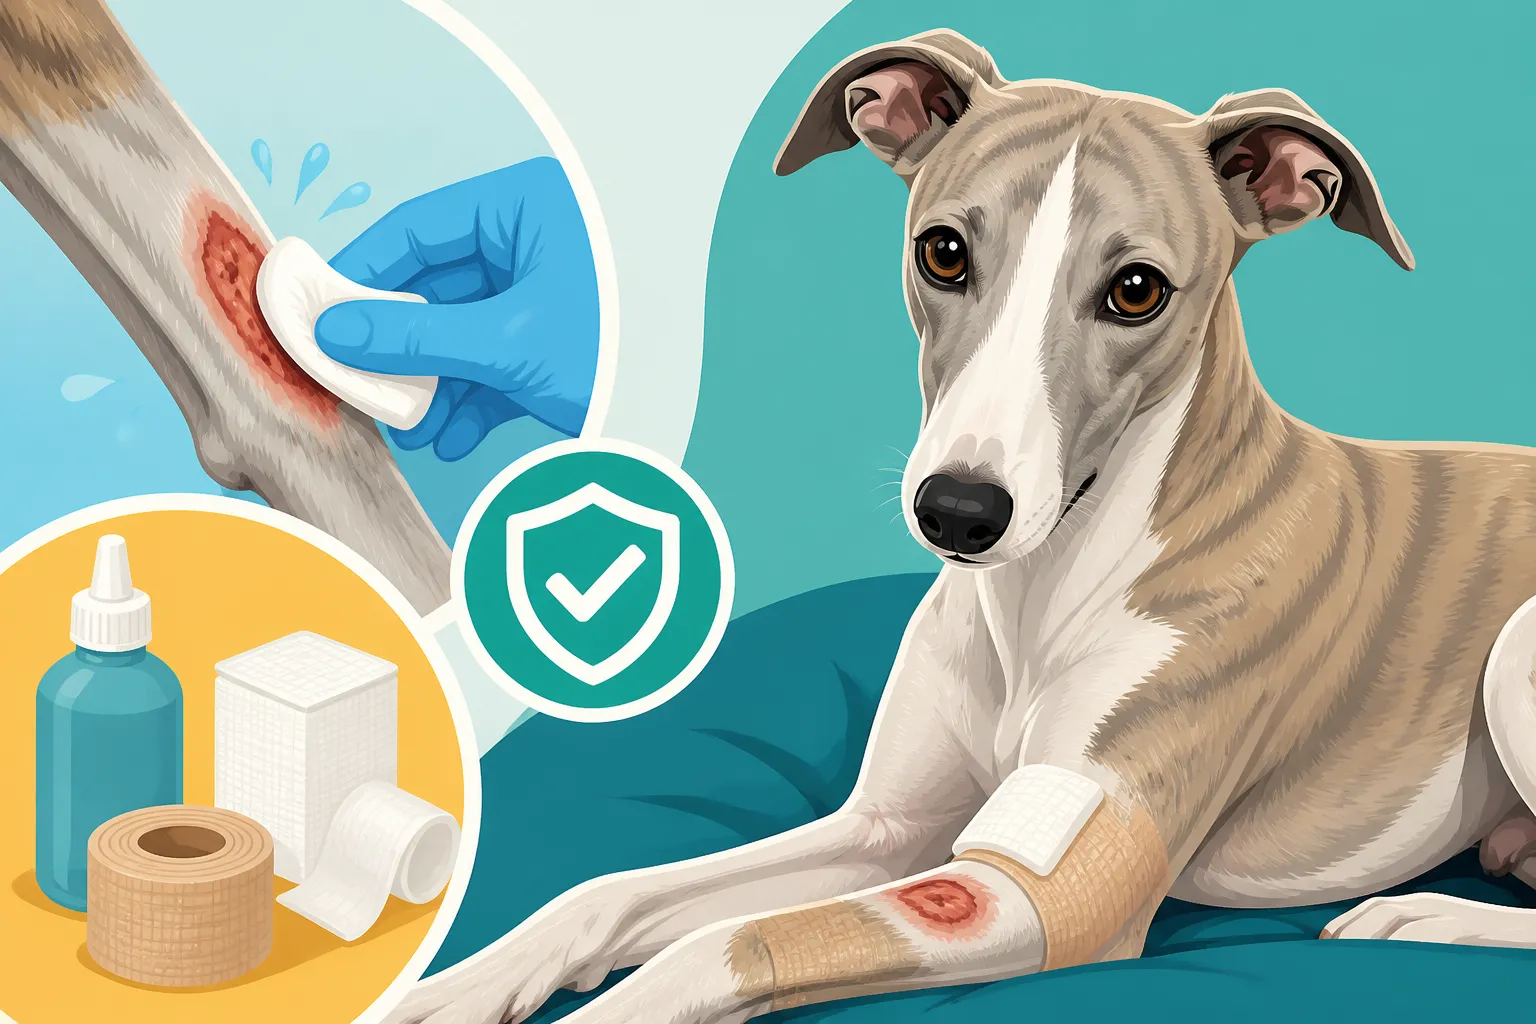
Cleaning and Dressing a Whippet’s Cut
There’s nothing quite like the heart-stopping moment you discover a cut or tear on your beloved whippet. Their delicate, paper-thin skin, combined with their zest for life and incredible speed, often means they're prone to minor (and sometimes not-so-minor) injuries. It’s a frustrating reality for many whippet owners, who often feel like they're constantly on alert. This guide is here to walk you through exactly how to clean and dress a whippet's cut, offering practical, empathetic advice for those frantic moments and the days of recovery that follow.
Recognizing a Whippet's Skin Injury
Before you can treat a wound, you first have to recognize it, and sometimes with a whippet, that can be easier said than done. Their short coats can hide a lot, and their stoicism means they won't always cry out in pain.
Why Whippets Are Prone to Skin Tears
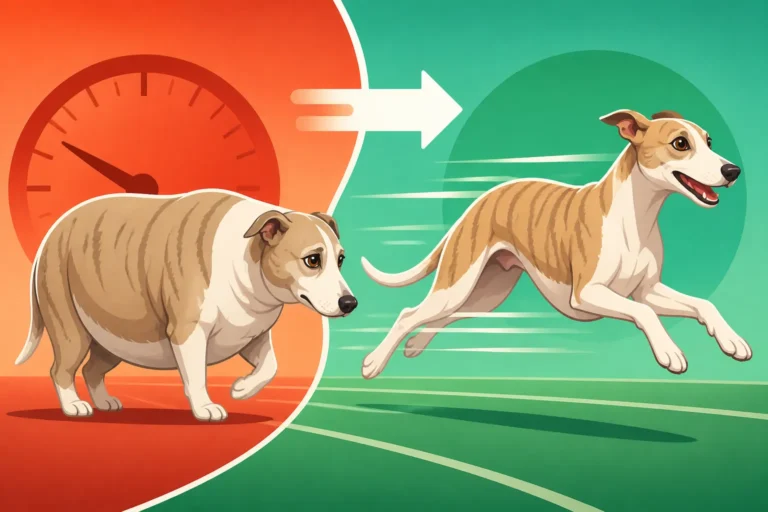
If you own a whippet, you already know. Their skin isn't just thin; it's often described as being like tissue paper, with very little underlying fat or muscle to cushion it. This unique physical characteristic, a hallmark of sighthounds, is what makes them so sleek and aerodynamic for speed, but it's also their Achilles' heel when it comes to scrapes and lacerations. A quick brush against a sharp branch in the park, a playful collision with another dog, or even catching themselves on a crate wire can result in a significant skin tear. It’s a constant worry for us whippet parents, and it often feels like we’re always playing defense against the world. It’s not your fault if your whippet gets a cut; it’s just part of living with a breed built for speed, not for rough-and-tumble durability. Many owners find themselves asking The Thin Skin That Sends a Whippet to the Vet for Stitches more often than they'd like.
The lack of subcutaneous fat means there's less tissue to absorb impact, making the skin much more susceptible to tearing rather than just bruising. It's not uncommon for a whippet to come away from what seems like a minor bump with a gaping wound that would barely register on a more thickly skinned breed. This fragility means that even everyday objects in your home or yard, things you'd never think twice about for another dog, can become hazards for a whippet. This isn't a sign of weakness; it's simply a genetic trait, and understanding it is the first step in prevention and effective treatment.
Identifying the Severity of the Wound
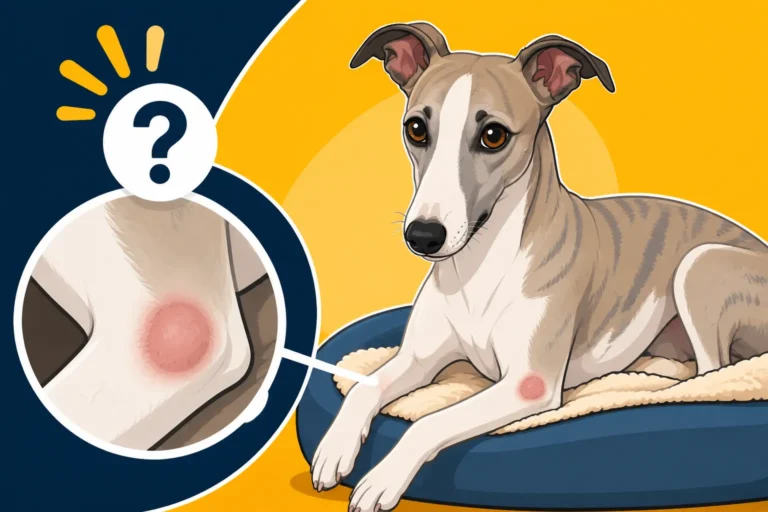
Once you spot a wound, your immediate instinct might be panic, but taking a deep breath and assessing the situation calmly is crucial. Is it just a superficial scrape, or a deeper laceration? A superficial wound might just involve the top layer of skin, perhaps a bit of redness or a slight ooze. A deeper cut, however, will expose the underlying tissue, muscle, or even bone. You might see a flap of skin pulled away, or a clean, deep slice. The edges of the wound are also important: are they clean and able to be brought together, or are they jagged and torn? Excessive bleeding, particularly bright red arterial spurts or a continuous dark red flow that's hard to stop, immediately signals a more serious injury requiring urgent attention.
Consider also the length and depth. A small nick, even if it bleeds a bit, might be manageable at home. But a cut that's more than half an inch long, or one that's wide open, exposing tissue beneath, almost certainly needs veterinary assessment. If you can see fat, muscle, or anything white (like bone or tendon), that's a definite trip to the vet. Don't underestimate how quickly a whippet's wound can become a big problem. This initial assessment will help you decide whether you can manage it with first aid at home or if it's time to call the emergency vet.
Common Locations for Whippet Cuts
Whippets, being the graceful yet occasionally clumsy creatures they are, tend to sustain cuts in predictable places. The legs, especially the hocks and front "knees" (carpi), are prime targets. These areas are lean, with skin pulled taut over bone, making them extremely vulnerable to tears when running through brush, catching themselves on furniture, or even sliding during exuberant play. Their flanks and chest, while sometimes less bony, are also common sites, particularly if they scrape past something sharp. You’ll find that Where a Whippet Tears Its Skin Most is often dictated by their anatomy and how they move.
Even their tails can suffer injuries, especially the delicate tip, which can split open if whacked against a hard surface, leading to what's often called "happy tail" – though there's nothing happy about it for either of you. The ears, with their fine skin and extensive blood supply, can also bleed profusely from a small nick. While any part of their body can technically be injured, paying extra attention to these high-risk areas during your post-play check-overs can help you catch issues early. These common injury zones mean that you, as a whippet owner, need to be hyper-vigilant and have a good understanding of first aid.
Immediate First Aid Steps for a Whippet's Cut
Finding your whippet with a fresh cut is never fun. Your heart races, and you immediately want to fix it. Here’s how to calmly and effectively start the first aid process.
Assessing the Situation Safely
Your first priority is always safety – both yours and your whippet's. Even the sweetest, most docile whippet can lash out in pain when injured. Approach your dog calmly, speaking in a soothing voice. If your whippet is panicking or showing signs of aggression (growling, snapping), consider gently muzzling them, if you have a soft muzzle handy, to prevent accidental bites. A nylon muzzle, often available from online retailers like Chewy or your local pet store, can be a temporary solution if you're worried. Don't try to force them into something they're violently resisting, as this can cause more stress or injury. If they're too agitated, prioritize getting them to a vet safely rather than attempting extensive first aid at home.
Once you’ve established a safe environment, carefully examine the wound. Try to get a good look at its size, depth, and whether there are any foreign objects lodged in it, like splinters or glass. If there's something large and deeply embedded, do not try to remove it yourself, as you could cause more damage or severe bleeding. Instead, stabilize it as best you can and head straight to the vet. Your calm demeanor will go a long way in keeping your whippet calm during this stressful time.
Controlling Bleeding
Controlling bleeding is often the most urgent step. For minor cuts, direct pressure is usually enough. Grab a clean cloth, gauze pad, or even a clean paper towel and press it firmly over the wound. Maintain constant pressure for at least 5-10 minutes without lifting it to check. Peeking too early disrupts the clotting process. If the cloth becomes saturated, don't remove it; simply add another clean cloth on top and continue applying pressure. Elevating the injured limb, if possible, above the level of the heart can also help reduce blood flow to the area.
For more severe bleeding that doesn't stop with direct pressure, or if you suspect an arterial bleed (bright red, spurting blood), this is an immediate emergency. While applying pressure, call your vet or emergency clinic immediately. They will guide you on what to do next. You might need to fashion a makeshift tourniquet only if the bleeding is life-threatening and on a limb, and you have been specifically instructed by a vet, as improper use can cause more harm. In most cases, firm, direct pressure is the gold standard for stopping bleeding until professional help can be reached. Remember, a good What to Keep in a Whippet First Aid Kit should include plenty of sterile gauze and self-adhering bandages.
Gathering Your Supplies
Before you start any cleaning or dressing, make sure you have everything you need laid out. This minimizes stress for both you and your whippet, as you won't be rummaging around mid-process. Here’s a checklist of essential items for your whippet’s first aid kit:
- Sterile Saline Solution: This is ideal for flushing wounds and is much gentler than tap water for initial cleaning. You can often find small bottles at a pharmacy or online from places like Amazon.
- Antiseptic Solution: Something like dilute povidone-iodine (Betadine) or chlorhexidine solution (Hibiclens), diluted according to package directions or vet advice. Never use hydrogen peroxide or rubbing alcohol on open wounds, as they can damage tissue and delay healing.
- Cotton Balls or Swabs: For applying antiseptics to smaller areas.
- Clean Gauze Pads and Rolls: For cleaning and covering the wound.
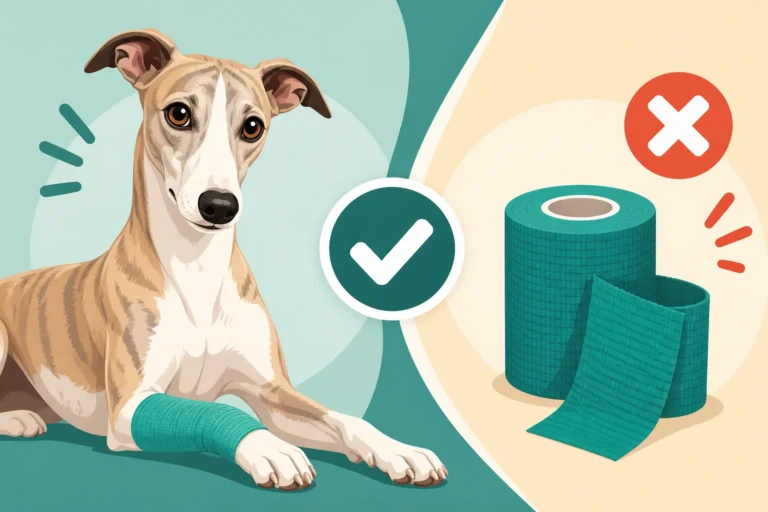
- Self-Adhering Bandage (Vet Wrap): This is fantastic because it sticks to itself, not to your dog's fur, and provides gentle compression. Many whippet owners always keep Whether a Whippet Owner Should Keep Vet Wrap on hand.
- Non-Stick Pads: To place directly over the wound under the bandage.
- Medical Tape: If you're not using self-adhering wrap.
- Blunt-nosed Scissors: For cutting bandages safely.
- Cone of Shame (E-collar): Essential for preventing your whippet from licking or chewing the wound and bandage. You can buy these at pet stores or online.
- Treats: For positive reinforcement!
Having these items readily available will make the entire process smoother and more effective, ensuring you're prepared to properly handle Treating a Whippet's Skin Tear.
Cleaning the Wound: A Step-by-Step Guide
Cleaning a wound properly is paramount to preventing infection and promoting healing. It’s not always a pleasant task, but it’s a critical one.
Preparing for the Cleaning Process
Once bleeding is controlled and you've assessed the situation, it’s time to prepare for cleaning. Find a well-lit, clean area where you and your whippet can be comfortable. A bathroom with good lighting or even an outdoor space on a warm day can work. Lay down some old towels or a puppy pad, because cleaning a wound can get messy. Recruit a helper if possible; one person can gently hold and comfort your whippet while the other focuses on the wound. Treats are your best friend here – lots of them, given frequently, to associate this potentially unpleasant experience with positive rewards.
Before you touch the wound, wash your hands thoroughly with soap and water, or use a hand sanitizer. You might also consider wearing disposable gloves to maintain sterility and protect yourself from any potential pathogens. Carefully trim any fur around the wound if it's long enough to get caught in the dressing or contaminate the site. Use blunt-nosed scissors to avoid accidentally poking your dog. Be extremely careful not to cut the skin, especially with a whippet’s delicate hide. Trimming fur helps keep the area clean and allows for better visualization of the wound edges.
Gentle Cleansing Techniques
Now for the actual cleaning. The goal is to remove any dirt, debris, or loose tissue without further irritating the wound. Start by gently flushing the wound with sterile saline solution. You can use a syringe (without the needle!) to direct a gentle stream, or simply pour it over the area. This helps to mechanically dislodge foreign material. Continue flushing until the wound appears clean. Resist the urge to scrub vigorously, as this can push bacteria deeper or cause more damage.
After flushing with saline, you can use a dilute antiseptic solution like povidone-iodine. Dilute it with water until it's the color of weak tea. Apply it gently to the wound and the surrounding skin using clean cotton balls or gauze. Avoid saturating the wound directly with concentrated antiseptic, as some solutions can be too harsh when undiluted. The purpose of the antiseptic is to kill bacteria on the surface and reduce the risk of infection. Make sure to wipe away from the center of the wound, not towards it, to prevent reintroducing contaminants. Pat the area dry with a clean, sterile gauze pad. You want the wound to be clean and slightly damp, not soaking wet, before applying any dressing.
What Not to Use on Your Whippet's Wound
Just as important as knowing what to use is knowing what not to use. Many common household antiseptics are actually harmful to open wounds on dogs, particularly those with sensitive skin like whippets. Absolutely avoid hydrogen peroxide, rubbing alcohol, and undiluted iodine. While these might be staples in human first aid, they are cytotoxic, meaning they can kill healthy tissue cells, delaying healing and causing unnecessary pain. Hydrogen peroxide, in particular, can damage the delicate new cells trying to form.
Do not use human antibiotic ointments unless specifically instructed by your vet. Many contain ingredients that dogs shouldn't ingest, and your whippet will try to lick it off. Petroleum jelly is also a no-go; it can trap bacteria and dirt. Likewise, avoid any "home remedies" or unverified substances. Stick to sterile saline and veterinary-approved diluted antiseptics. When in doubt, plain warm water and a clean cloth are always safer than using something potentially irritating or harmful. Proper wound care is a science, and taking shortcuts or using incorrect products can quickly turn a minor injury into a major infection.
Dressing the Wound: Protecting and Healing
Once the wound is clean, protecting it is the next crucial step. A well-applied dressing can prevent contamination, absorb discharge, and provide a cushion for your whippet's delicate skin.
Choosing the Right Dressing Materials
For a whippet’s thin skin, choosing the right dressing materials is vital. You’ll want something that won’t stick to the wound itself, as this can cause pain and reopen the wound when changed. Non-stick pads, often labeled as "non-adherent dressings," are perfect for placing directly over the cut. These typically have a shiny, perforated surface that allows air circulation while preventing sticking. You can find these at any pharmacy or online.
Next, you'll need an absorbent layer, like sterile gauze pads, to place over the non-stick pad. This will soak up any exudate (fluid) from the wound. Finally, you need a way to secure everything. Self-adhering bandage, commonly known as Vet Wrap (or similar brands available at Chewy or your local pet store), is ideal for whippets. It sticks to itself, not to their fine fur, and provides a gentle, even compression without being too tight. For wounds on the body or chest, where wrapping is harder, medical tape designed for sensitive skin might be an option, but be very careful not to pull hair or irritate the skin when removing it.
Applying a Protective Bandage
Applying a bandage correctly requires a bit of finesse, especially on a lean, angular whippet. Start by placing your chosen non-stick pad directly over the clean wound. Ensure it fully covers the cut with a small margin. If the wound is on a limb, you'll want to extend the bandage above and below a joint to prevent it from slipping off.
Next, add an absorbent layer of sterile gauze pads over the non-stick pad. Now, gently unroll your self-adhering bandage. Begin wrapping from below the wound, working your way upwards, overlapping each layer by about half the width of the bandage. Apply it firmly but not tightly – you should be able to slide two fingers underneath the bandage comfortably. Wrapping too tightly can cut off circulation, which is extremely dangerous. Be particularly careful around joints, as movement can make a bandage too constricting. If you're bandaging a paw, leave the two central toenails exposed so you can monitor for swelling (a sign of a too-tight bandage). Secure the end of the self-adhering wrap firmly to itself. Remember, the goal is protection and slight compression, not immobilization.
When and How to Change Dressings
How often you change the dressing depends on the wound’s nature. For a fresh, actively oozing wound, you might need to change it daily, or even twice a day, especially in the first 24-48 hours. As the wound starts to dry and heal, you can often extend changes to every other day. Always change the dressing if it becomes wet, dirty, or starts to smell foul – these are signs of potential infection or contamination.
When changing the dressing, be gentle. Carefully unwrap the self-adhering bandage, cutting it if necessary with blunt-nosed scissors. Lift the old gauze and non-stick pad away slowly. If it sticks a little, you can gently moisten it with sterile saline to loosen it. Always inspect the wound each time you change the dressing: note any changes in size, redness, swelling, discharge (color, odor, consistency), or signs of pain. Clean the wound again following the steps above, then apply fresh, sterile materials. Consistency in wound care is key to preventing complications and supporting your whippet's recovery. You should be familiar with How Slowly a Whippet's Skin Heals and adjust your expectations for changing dressings accordingly.
When to Seek Veterinary Care
While basic first aid can help with minor cuts, many whippet skin injuries absolutely require professional veterinary attention. Knowing when to make that call can save your whippet from infection, complications, and prolonged suffering.
Signs a Vet Visit is Non-Negotiable
It can be tempting to try and manage everything at home, especially for a minor cut, but some wounds simply must be seen by a vet. If the wound is deep, gaping, or exposes underlying muscle, fat, or bone, it needs immediate professional care. These types of injuries usually require sutures or surgical glue to close properly and reduce the risk of infection. If you cannot stop the bleeding after 10-15 minutes of direct pressure, that's an emergency. Any wound that involves a joint, eye, or face should also be seen by a vet, as these areas are delicate and prone to serious complications.
Furthermore, if you find any foreign objects embedded deeply in the wound, leave them alone and take your whippet to the vet. Trying to remove them yourself can cause more damage. Beyond the initial injury, be on the lookout for signs of infection: increased redness, swelling, heat around the wound, foul-smelling discharge, or your whippet developing a fever or lethargy. These symptoms, even if they appear days after the initial injury, warrant an urgent vet visit. It's always better to be safe than sorry, and your vet can determine Whether a Whippet's Cut Always Needs Stitches.
Understanding the Cost of Emergency Stitches
Let's be realistic: a trip to the vet for sutures or wound repair can be a significant, often unexpected, expense. Many whippet owners can attest to the panic of thinking about Emergency Stitches: the Whippet Bill Nobody Budgets For. The cost will vary depending on the severity of the wound, whether it requires sedation or general anesthesia, after-hours emergency fees, medications (pain relief, antibiotics), and follow-up visits. A simple cut might be glued or stapled under local anesthetic, while a deeper, more complex laceration could require extensive suturing under general anesthesia.
Given the whippet's unique physiology, a Why a Whippet Needs a Sighthound Anesthesia Protocol is often necessary, which might factor into the cost as well, as specialized care often comes with specialized pricing. It's a tough pill to swallow, but prompt, professional care for these types of injuries is crucial for proper healing and to prevent more serious (and even more costly) complications down the line. If you have pet insurance, this is exactly the kind of situation it's designed for. Otherwise, having an emergency fund is highly recommended for whippet owners.
Preparing for Your Vet Appointment
Once you’ve made the decision to go to the vet, a little preparation can make the visit smoother. First, call ahead if possible, especially if it’s an emergency. This allows the clinic to be ready for your arrival. If the wound is actively bleeding, continue to apply direct pressure. For large or exposed wounds, you can loosely cover it with a clean towel or non-stick gauze to protect it during transport.
Bring any relevant information with you: when the injury occurred, how it happened (if you know), what first aid you’ve already administered, and any medications your whippet is currently on. Be prepared to explain what you've observed about the wound's depth and characteristics. Your whippet might be stressed or in pain, so ensure they are securely leashed or crated for transport. Having a calm, reassuring demeanor will also help your whippet. It's also wise to research What a Whippet Laceration Repair Costs beforehand if you have time, or at least be prepared to discuss financial options with the vet. They’ll appreciate your efforts to keep your whippet comfortable and safe.
Ongoing Care and Monitoring
The journey doesn't end once the vet has seen the wound or you've applied the first dressing. Ongoing care is vital to ensure proper healing and to prevent setbacks.
Watching for Signs of Infection
One of the biggest concerns with any open wound is infection. Even with the best cleaning and veterinary care, bacteria can sometimes take hold, especially with a whippet’s thin skin. You need to be a hawk, constantly monitoring the wound for tell-tale signs. Look for increased redness around the edges of the cut, swelling that wasn't there before, or heat radiating from the area when you gently touch it. A foul odor coming from the wound, or any discharge that is yellow, green, or thick, is a strong indicator of infection.
Your whippet’s general demeanor can also signal a problem. If they become lethargic, lose their appetite, develop a fever (which you can check with a rectal thermometer), or show increased pain when the wound area is touched, it’s time to call the vet again. Early detection and treatment of infection are crucial, often involving antibiotics, to prevent it from becoming more severe and potentially spreading throughout their body.
Ensuring Comfort and Preventing Chewing
A whippet's natural instinct when they have a wound is to lick or chew it. This is incredibly detrimental to healing, as it can introduce bacteria, pull out stitches, and delay the closure of the wound significantly. This is where the dreaded "cone of shame," or e-collar, becomes a non-negotiable part of wound care. While they hate it, and you'll feel terrible putting it on them, it’s absolutely essential. There are various types of cones available – traditional plastic ones, inflatable donut collars, or soft fabric cones – which you can often find at Chewy or Amazon. Choose one that fits properly, allowing them to eat and drink but preventing them from reaching the wound. You might find that Whether a Whippet Should Wear a Cone After Stitches is a question that arises often, and the answer is almost always yes.
Beyond the cone, ensure your whippet is comfortable. Provide soft, clean bedding in a quiet area where they can rest without interruption. Avoid activities that could strain the wound or pull on stitches, such as jumping, running, or rough play. Leash walks for bathroom breaks should be calm and controlled. Keep them warm, especially if they’re recovering from sedation, as whippets can get chilled easily.
Supporting the Healing Process Long-Term
Wound healing is a complex process that takes time, and your active support can make a big difference. Continue to follow all veterinary instructions regarding medication, wound cleaning, and bandage changes. If your whippet is on antibiotics, ensure they complete the entire course, even if the wound looks better. Pain medication, if prescribed, should be given as directed to keep them comfortable.
Good nutrition is also important. Ensure your whippet is eating a high-quality, balanced diet to provide their body with the necessary nutrients for tissue repair. Brands like Ollie, which focus on fresh, whole ingredients, can support overall health and recovery, though any complete and balanced diet will do. Keep them hydrated, and continue to restrict their activity level according to your vet's advice. Once the wound has closed and stitches are removed (if applicable), gradually reintroduce activity. Even after the outer skin has healed, the deeper tissues are still vulnerable for a while, so gradual return to normal activity is key to preventing re-injury. Your patience and diligent care during this recovery period are invaluable for your whippet’s full and healthy recovery.
Disclaimer
This article is for general informational purposes only and does not constitute professional advice. Laws, prices and regulations vary by location and change over time. Consult a qualified professional for guidance on your specific situation.